I introduce to you: Author Intermissions! The purpose of these special posts is to give a few little extra tips or to bring up topics that I realize most young and learning artists won't think to ask about. Hopefully Author Intermissions will encourage further questions based on what I've posted.
In
my post on art materials, I covered some specific tools I recommend for my fellow artists. Today I want to make a sort of addition to that post, and mention some extra accessories that can make your work a little easier.
Pencil extender
Ever get your wood pencil down to a nub and have to cramp up your hand trying to hold the thing?
It's a shame to simply throw it away when there's still so much of the pencil left, but it's just too short to use easily. Meet your solution.
A pencil extender is basically what it says on the tin. You put your stubby little sharpened-down pencil into the holder, and you magically have more to hold when you draw!
General's is the easiest brand of these to find. I think they're a little bit expensive for being a chunk of wood with metal attached, but it's really worth the price, as these things last forever.
Unfortunately, they sometimes don't work too well with the woodless pencils I recommended in the materials post (depending on the brand), but they're perfect with a standard wood pencil.
Erasers
Erasers are probably one of the materials most of us artists pick a favorite for very early on. I still use the same type of eraser I used in middle school. If you have your favorite then by all means, keep it. This is my advice to those of you still using whatever eraser happens to drift your way.
My personal favorite is the Clic eraser. It lasts a long time, and you can really erase fine detail if you know how to use it. Since I work a lot with dark pencil lines, it's insanely valuable to have an eraser that can get into small details, and erases cleanly with no smudges.
There are similar tools, like fine-point drafting erasers and electric erasers. These will work just as well, but Clic is the only one I know of this quality that can be found in general office supply stores, or even drugstores.
For those of you working with rendered (shaded) art, I highly recommend a kneaded eraser. This is the most commonly used type of eraser in the professional world of art. It's like a little ball of clay. You can shape it to a fine point, or flatten it to lift a little bit of value in a large area, and it doesn't leave little eraser bits! I also find them a little relaxing to squish in my hands while I'm working.
Gel Pen
For most of us, hearing "gel pen" makes us think of those horrible little cheap pens packed with glitter and over saturated colors, that see the most use in year books. (I still love those things.) Well, it's time to think of them a little differently.
If you like to work with ink, you might want to try out Gelly Roll's white gel pen. It's basically white-out, in a pen. You can fix mistakes with incredible precision, and it doesn't create an ugly glob of goo on your paper. They go a long way, as well. I find most art stores are carrying them now.
 |
| A little gel pen and re-inking will fix that! |
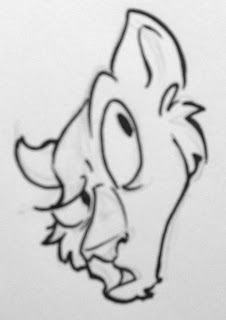 |
| Why so unhappy? |
Non-Photo Blue Pencil
If you're like me and tend to do lots of heavy sketching before putting in your final lines, you might want to work in blue pencil. When you do your sketching in blue pencil, you can never make your lines anywhere near as dark as a soft graphite or ink line. This way, your final lines will be much easier to see.
Another advantage is that blue pencil is harder for a copy machine or scanner to read. You can easily scan an inked drawing with blue sketch lines underneath, and make some simple tweaks in Photoshop to make the sketch underneath completely vanish. All you're left with is the clean final drawing.
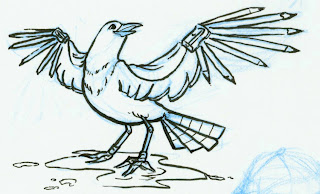 |
| The original, unedited scan of the Field Book bird |
Any light blue pencil will work, but specifically non-photo blue pencils are best. My favorite is Staedtler's non-photo blue pencil. Some other brands are a little too dark, and get picked up more easily by copiers and scanners.
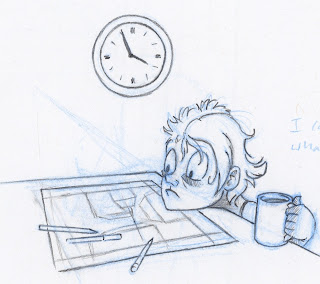 |
| Before. . . |
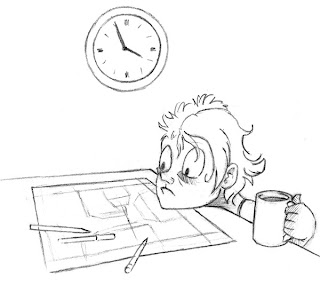 |
| . . .and after some simple Photoshop tweaks |